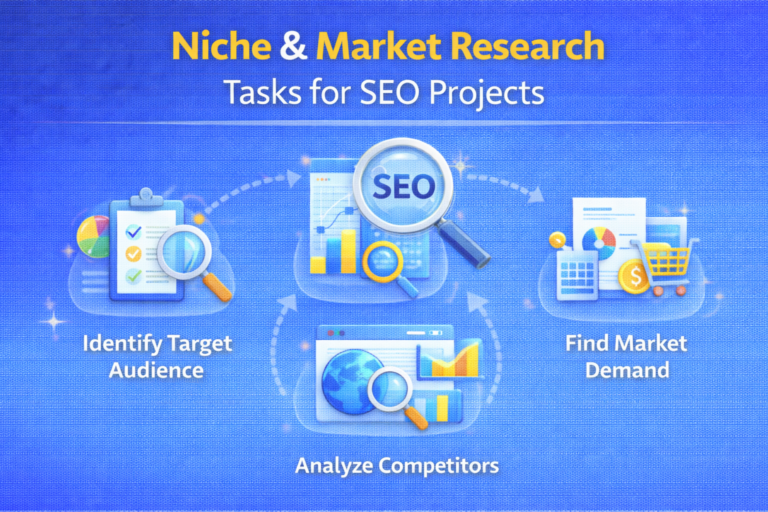
Niche and market research is the foundation of every successful SEO project. Before keyword research, content creation, or link building begins, SEO professionals must clearly understand who the...

Keyword research is the foundation of every successful SEO strategy. If you target the wrong keywords, or skip research altogether—your content may never reach the people searching for it. In this...
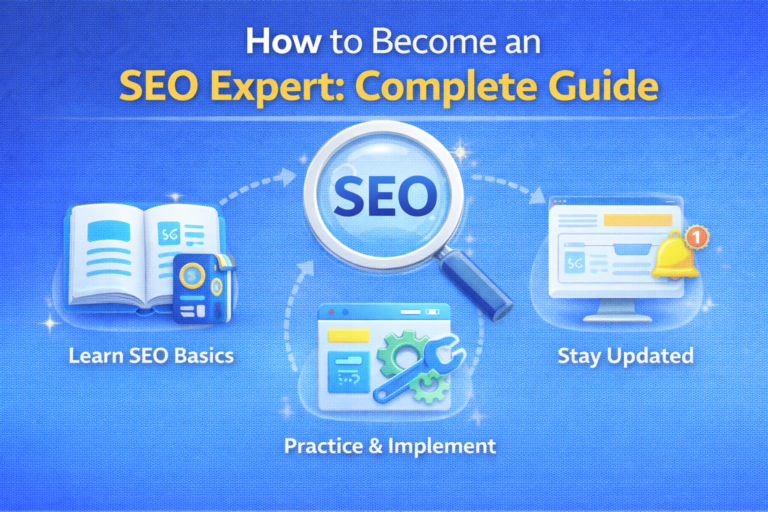
Search engines are the starting point for most online journeys. Businesses rely on visibility in Google to attract customers, generate leads, and grow revenue. This demand has made SEO one of the most...
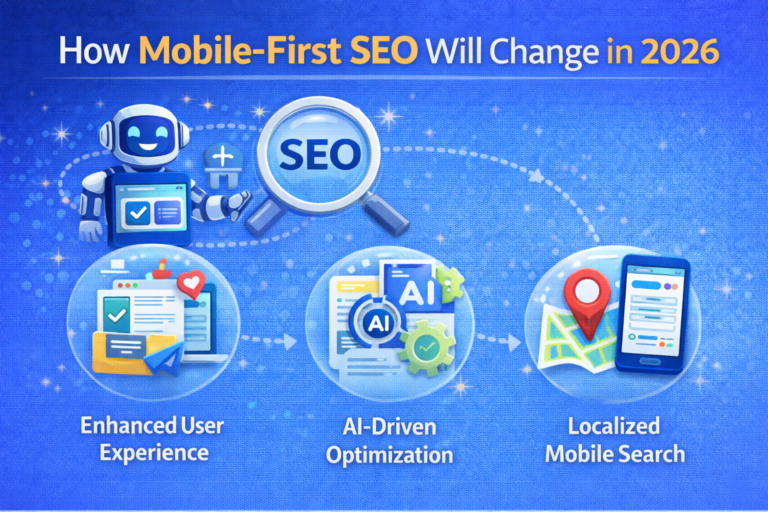
Mobile search now dominates how users discover websites, and Google has fully adapted to this shift. With mobile-first indexing, Google primarily uses the mobile version of your website for crawling...

Search engine optimization is no longer just about keywords, backlinks, and rankings. In 2026, artificial intelligence (AI) is reshaping how search engines understand content, how users discover...
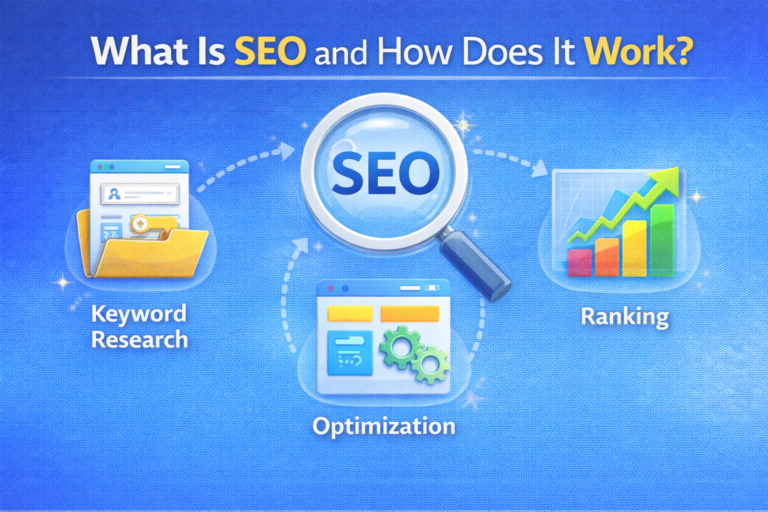
Search engines are often the first place people go when they need information, products, or services. Whether someone is searching for answers, comparing options, or ready to buy, showing up in search...
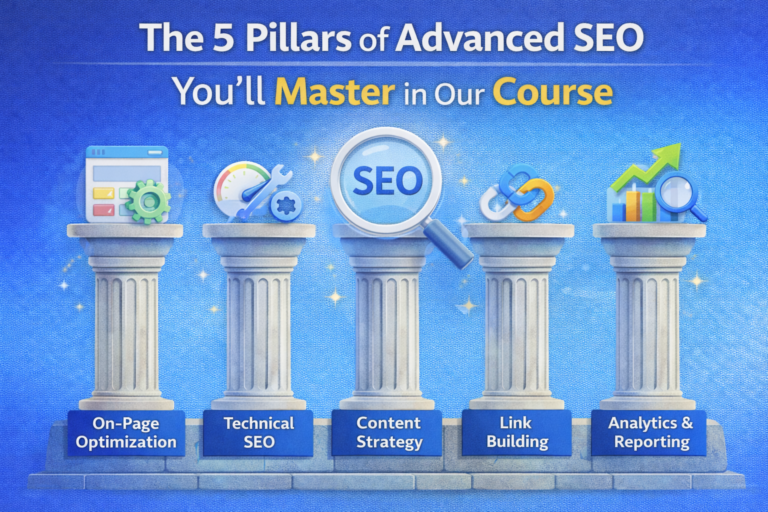
Advanced SEO encompasses many facets, but at its core are five fundamental pillars that every expert should master. 1. Technical SEO: The backbone of SEO success starts with a crawlable and indexable...
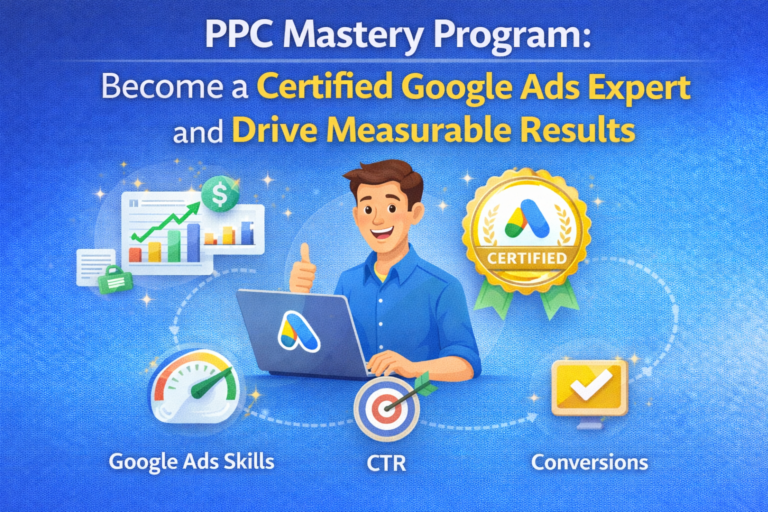
Pay-Per-Click (PPC) advertising remains one of the most effective digital marketing tactics to drive targeted traffic, generate leads, and boost sales. But managing PPC campaigns successfully requires...
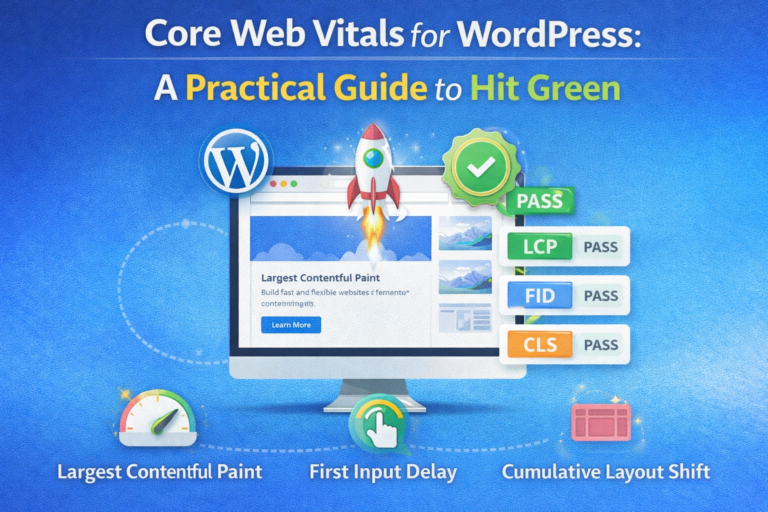
Google’s Core Web Vitals have emerged as essential benchmarks for website performance, especially for WordPress sites. These metrics measure how users experience your site — focusing on loading speed...
- 1
- 2